ARC license number – AU54842
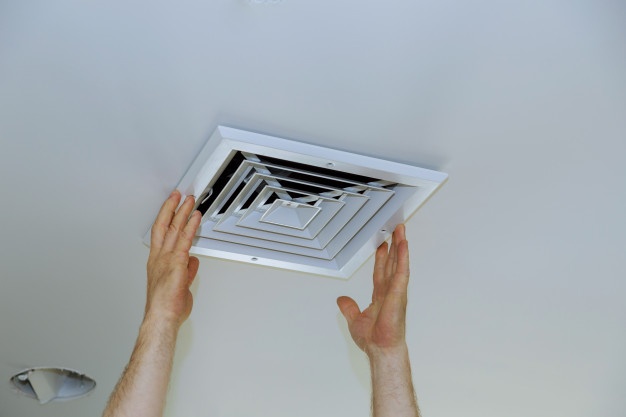
Whether the vent covering is missing or just unsightly, replacing a vent cover is a straightforward job. A replacement vent cover may conceal a dangerous hole on your floor while also complementing your décor.
Vent covers are usually inexpensive to change, and there are many types to choose from to fit your home’s style. Spend the effort to clear up the vents before installing. For a simple installation, follow the below steps.
- Remove the vent
Loosen any anchoring screws to dismantle the current vent (if one exists). The vent ought to be easy to be pulled out, but if it’s a very tight fit, it may require a slight wiggling.
If necessary, a flathead may be used to pry the vent open. Gloves are recommended since the vent’s edges may be sharp.
- Take a Measurement
To replace your vent, assess the opening within the flooring or ceiling. You may also take measurements of the current vent’s bottom, which is the part that fits within the hole. Make sure the new covers are the correct size.
- Cleaning the Vent
Pick out any big objects visible via the vent ducting. Clear away any residual debris, dust, or trash which you can see with your cleaner. If using a vacuum, place the suction hose as far down into the vent as feasible.
- Place Anchors
When reinstalling a vent, if necessary, put anchors into the existing screw holes for stability. If somehow the replacement vent’s bolts are much bigger, you may wish to drill the holes to make installation easier.
- Replace the Vent
Install the replacement vent by inserting it into the open space. The ductwork may have to be adjusted so the vent fits fully into the opening and is parallel with the floor or ceiling. This may be accomplished by reshaping the ductwork or enlarging the opening to fit the additional vent.
We handle issues in need of a Brisbane Electrician and AC problems. Looking for help with your air conditioning system, ductwork system, or vent covers? Contact CLF Services today for your AC needs.


